Introduction to Capping in Welding
In the world of welding, achieving a smooth and flawless finish is essential, not only for aesthetics but for the structural integrity of the weld itself. One of the key techniques to perfect this finish is known as “capping.” Capping refers to the final weld pass made on a multi-pass weld. It is the last visible layer that covers all the underlying weld beads, and its appearance and quality are critical.
This article provides a comprehensive guide to capping in welding, covering essential techniques, tips, and common issues. By the end of this guide, you will have a deeper understanding of how to perform a perfect weld cap, the challenges that come with it, and how to troubleshoot any issues that arise.
What is Capping in Welding?
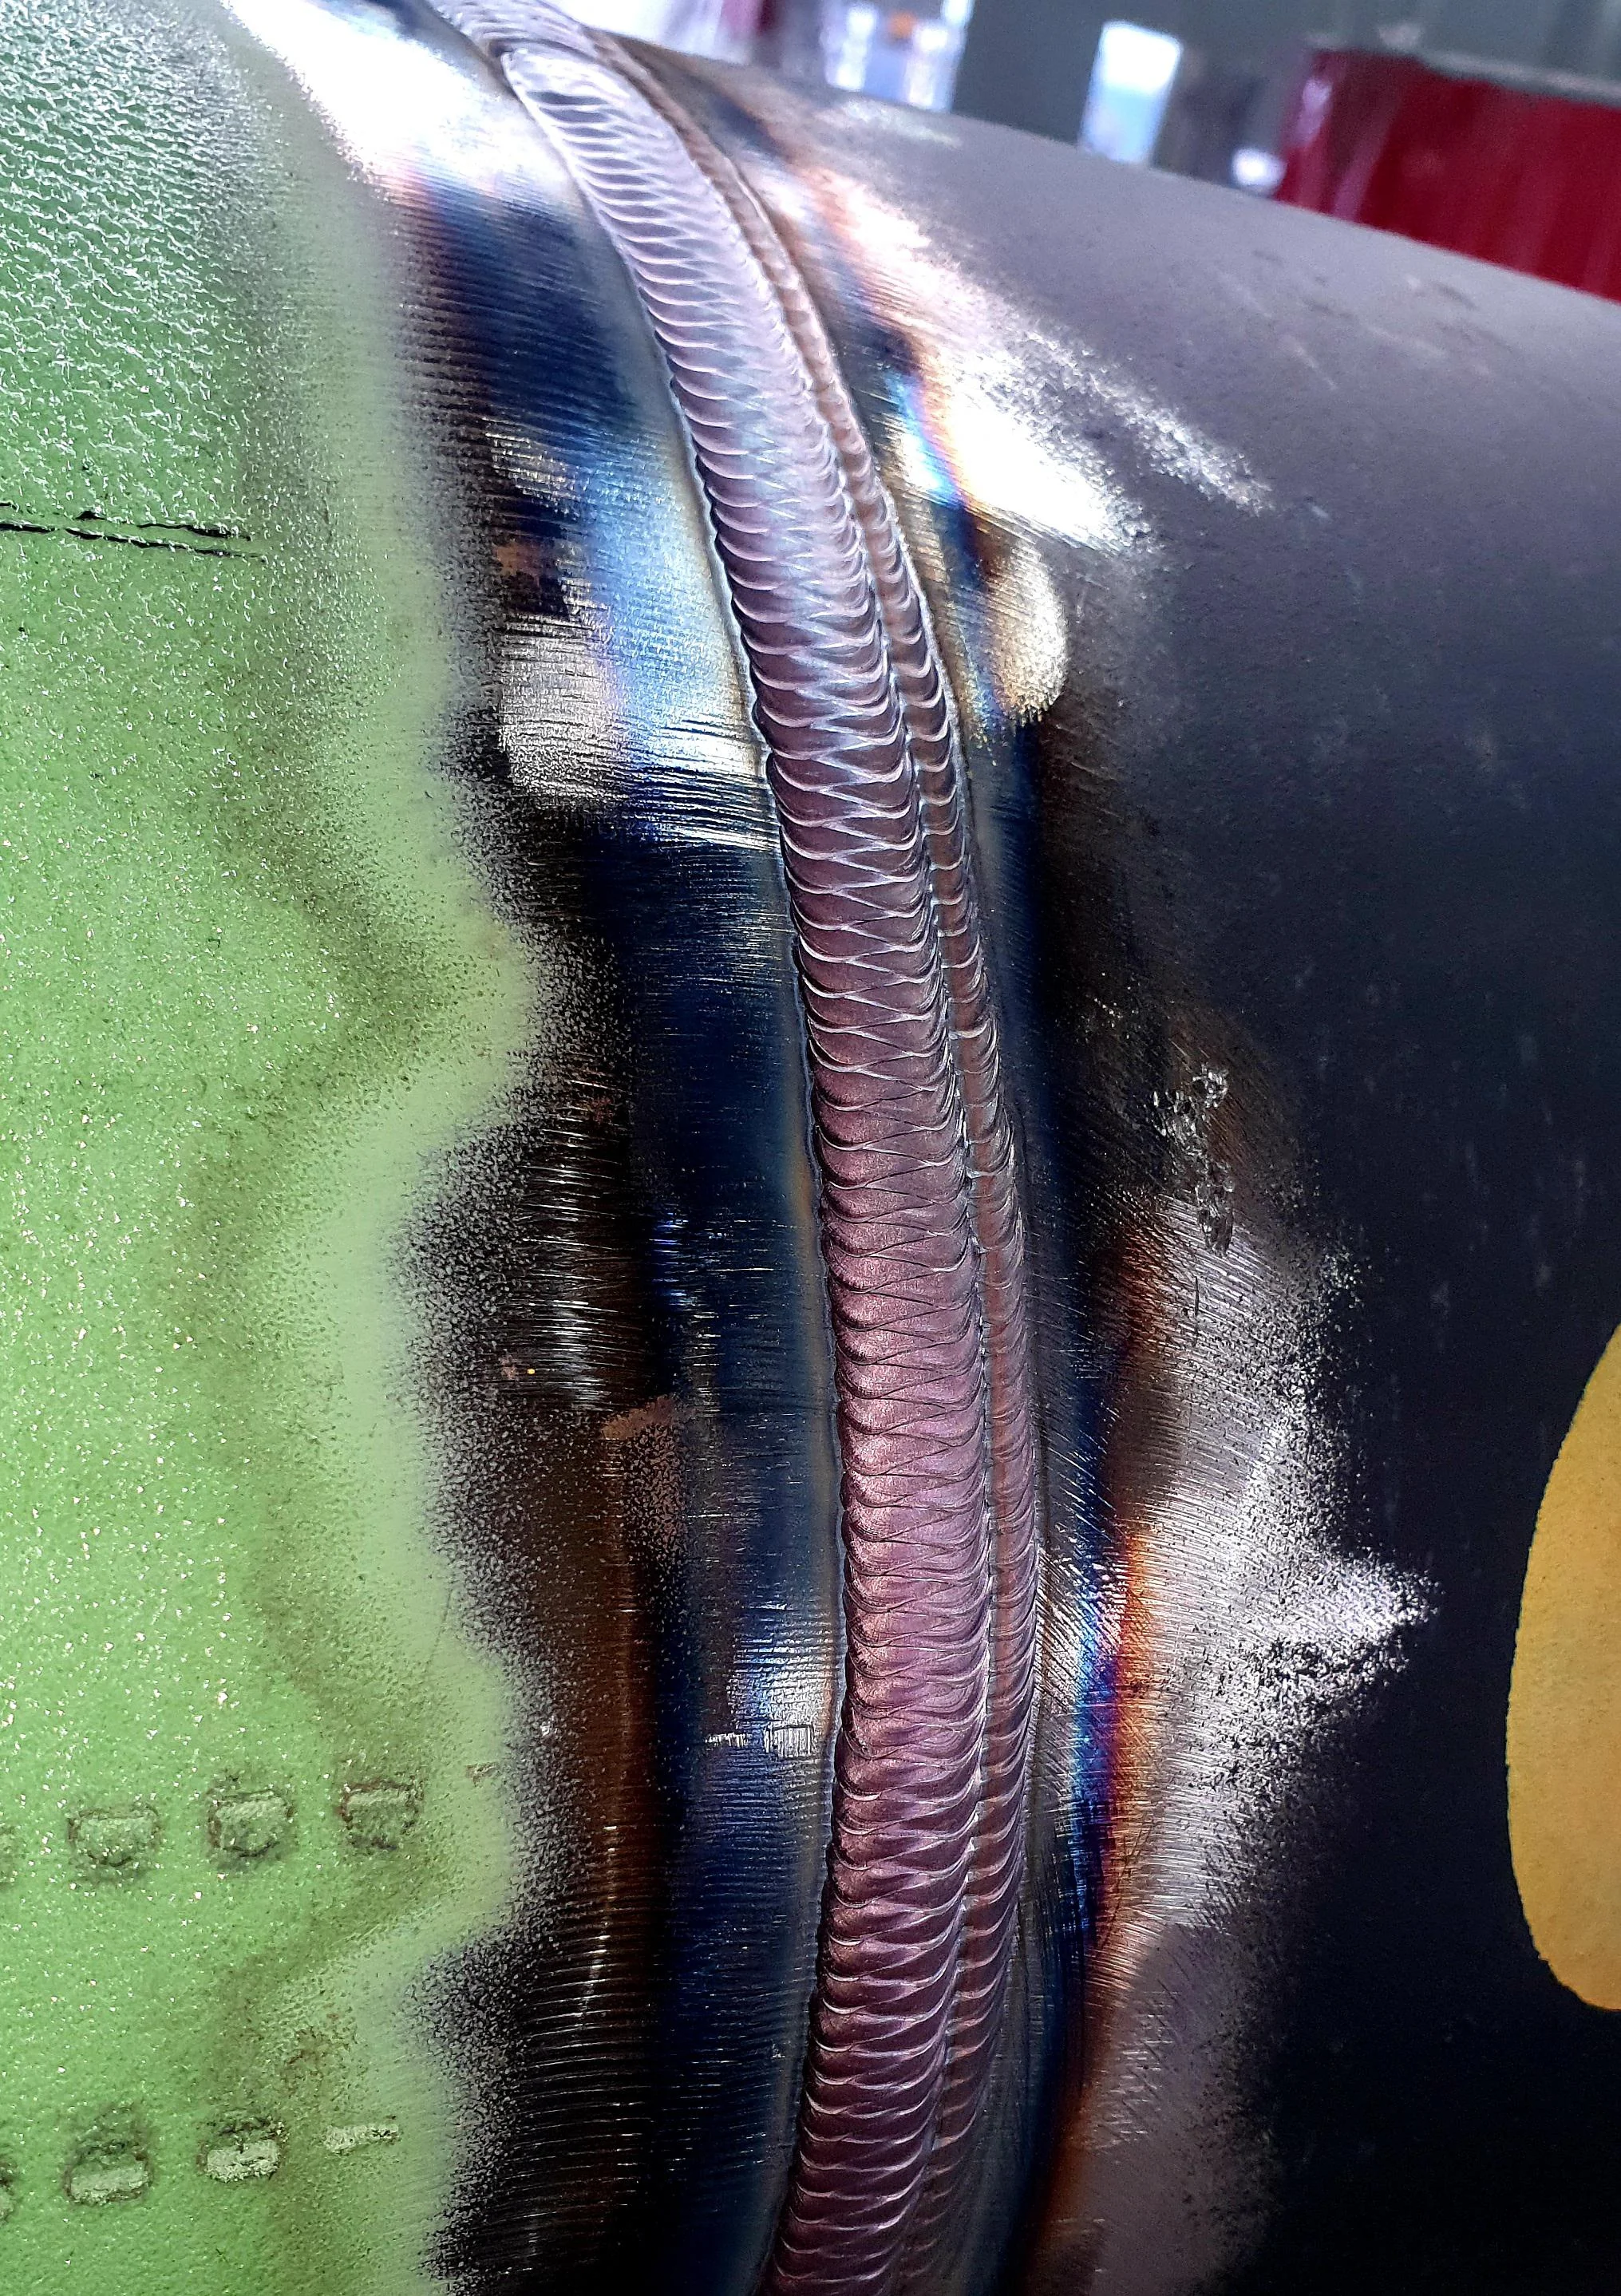
Capping is the final layer of a weld that is applied over the root pass and filler passes in multi-pass welding operations. This layer acts as a protective seal and is critical for the weld’s visual appearance and its overall strength and durability. The capping pass is where any small imperfections from previous passes can be covered, but it requires careful control to avoid introducing new defects.
Importance of Capping in Welding
A well-executed capping pass serves several purposes:
1. Aesthetic Finish: A smooth and consistent cap ensures that the weld looks professional and visually appealing, which is essential in industries like construction, automotive, and shipbuilding.
2. Structural Integrity: The capping layer protects the underlying weld passes from external elements such as moisture and contaminants, which could compromise the weld’s longevity.
3. Even Distribution of Stress: A proper cap ensures that the stress within the welded joint is evenly distributed, reducing the chances of cracking, deformation, or failure under load.
4. Prevention of Corrosion: The capping pass seals the weld from potential corrosive elements, protecting it from rust or oxidation, especially in outdoor or marine environments.
Key Factors to Consider in Capping
Performing a successful capping pass requires a high level of skill and attention to several factors, including:
1. Heat Control: Controlling the heat input is critical in preventing defects such as undercut or excessive reinforcement. Too much heat can cause the metal to pool unevenly, while too little heat may result in poor fusion.
2. Speed and Travel Angle: The travel speed and angle of the welding torch play a significant role in ensuring an even bead. A steady hand and consistent motion are necessary to avoid defects like overlap or undercut.
3. Welding Technique: Different welding techniques such as weaving, stringer beads, or oscillation can be used depending on the material, joint configuration, and desired finish.
4. Cleaning and Preparation: Ensuring that the surface is clean and free from contaminants like rust, oil, or paint is crucial for a high-quality weld. Proper cleaning techniques such as grinding or wire brushing can help in preparing the weld area.
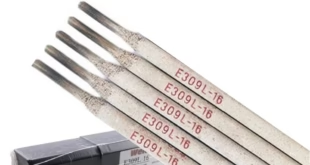
5. Filler Material: The choice of filler material must match the base metal to avoid metallurgical issues. The right filler ensures that the weld has the same properties as the base metal, including strength, corrosion resistance, and ductility.
Techniques for Capping in Welding
1. Stringer Bead Technique
In the stringer bead technique, the welder moves the electrode or welding gun in a straight line across the weld joint without oscillating. This technique is preferred for situations where a clean, precise weld is necessary. It is often used in vertical and overhead positions.
Advantages:
Provides a clean and sharp weld cap.
Reduces the risk of overheating the weld pool.
Ideal for thin metals or joints with minimal space for movement.
Disadvantages:
Requires high precision and steady control.
May not be ideal for filling larger gaps or joints where multiple passes are needed.
2. Weaving Technique
The weaving technique involves moving the welding gun or electrode in a zigzag or side-to-side motion. This method is commonly used for capping because it covers a larger area and is useful for filling wider gaps between metal parts.
Advantages:
Provides better coverage for wider joints.
Reduces the chances of undercutting.
Helps to create a smooth, even cap over the entire weld joint.
Disadvantages:
If done incorrectly, it can lead to excessive reinforcement.
Can introduce porosity if the travel speed is too fast or if the welder pauses too long on the sides of the weave.
3. Circular Motion Technique
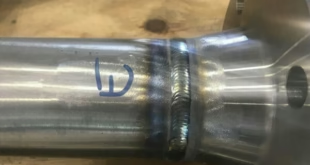
In this technique, the welder moves the torch or electrode in small, circular motions as they progress along the weld. This is often used in pipe welding and can result in a smooth, evenly distributed weld cap.
Advantages:
Provides good penetration and fusion.
Helps to eliminate the risk of overlap and undercutting.
Disadvantages:
Can be difficult to master for beginners.
Requires a high level of skill to maintain consistent circular motions.
Common Challenges in Capping and How to Overcome Them
1. Undercut
Undercut occurs when the edge of the weld pool erodes into the base metal, leaving a groove that can compromise the weld’s strength.
Causes: High travel speed, excessive heat input, or improper torch angle.
Prevention: Reduce the travel speed and ensure the torch angle is appropriate for the position. Avoid using too high an amperage, which can increase the risk of undercutting.
2. Overlap
Overlap happens when the weld metal extends beyond the weld pool and lies on top of the base metal without fusing properly.
Causes: Low travel speed or excessive filler material.
Prevention: Increase travel speed slightly, and ensure you are not depositing too much filler material at once. Adjusting the heat input can also help prevent overlap.
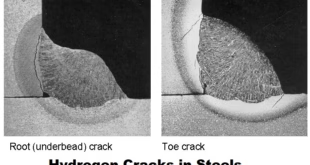
3. Incomplete Fusion
Incomplete fusion occurs when the weld metal fails to fuse properly with the base metal, leaving gaps between the layers of the weld.
Causes: Low heat input or improper cleaning of the weld area.
Prevention: Ensure the base metal is clean and free from contaminants, and use the correct heat settings to achieve proper fusion.
4. Excessive Reinforcement
Excessive reinforcement refers to a weld cap that is too thick or bulging, which can lead to stress concentrations and aesthetic issues.
Causes: Slow travel speed, excessive filler metal, or incorrect torch angle.
Prevention: Increase the travel speed and reduce the amount of filler metal being deposited. Ensure the welding torch is at the correct angle and position relative to the weld joint.
5. Porosity
Porosity refers to the presence of small gas pockets or voids within the weld. These voids weaken the weld and can lead to premature failure.
Causes: Contaminated base metal, improper shielding gas flow, or excessive heat input.
Prevention: Clean the base metal thoroughly before welding and ensure proper shielding gas coverage. Reducing the heat input and maintaining a steady travel speed can also help to prevent porosity.
Techniques for Inspecting and Testing the Weld Cap
After completing the capping pass, it is essential to inspect the weld for any defects or inconsistencies. Here are some common methods used in industry:
1. Visual Inspection: The most basic form of inspection is a visual check for any surface defects, such as undercut, overlap, or excessive reinforcement.
2. Ultrasonic Testing (UT): This non-destructive testing method uses high-frequency sound waves to detect internal flaws within the weld, such as porosity or incomplete fusion.
3. Radiographic Testing (RT): X-rays are used to inspect the weld for internal defects. This method is particularly useful for critical welds where structural integrity is paramount.
4. Magnetic Particle Testing (MT): This method detects surface and near-surface defects in ferromagnetic materials by applying a magnetic field and using iron particles to highlight any discontinuities.
5. Liquid Penetrant Testing (PT): A dye penetrant is applied to the surface of the weld, and after a short dwell time, the excess dye is removed. Any defects will be revealed as the dye remains trapped in cracks or pores.
Conclusion
Capping in welding is a vital skill that, when mastered, ensures a professional and structurally sound weld. Whether you’re welding for industrial applications or smaller projects, understanding the nuances of capping techniques can significantly improve the quality of your work. From controlling heat input to selecting the right filler material, each step in the capping process requires attention to detail and precision.
By familiarizing yourself with the different techniques—whether it’s stringer beads, weaving, or circular motions—you can achieve a flawless weld cap. Additionally, understanding common defects and their solutions helps you avoid pitfalls that can compromise your weld. A perfect weld cap not only looks good but ensures the strength and longevity of the weld joint.
Master these techniques, and you’ll elevate your welding skill to new heights, ensuring high-quality finishes on every weld.