Weld Acceptance Criteria ASME B31.3 Process Piping
Weld quality is essential in industries where process piping transports chemicals, gases, and liquids. The ASME B31.3 standard for process piping sets stringent guidelines to ensure safe and reliable welds. One key component of this standard is the weld acceptance criteria, which provides specific parameters for acceptable weld quality. By following these criteria, industries can avoid costly repairs, ensure operational safety, and maintain regulatory compliance.
Introduction to ASME B31.3
What is ASME B31.3?
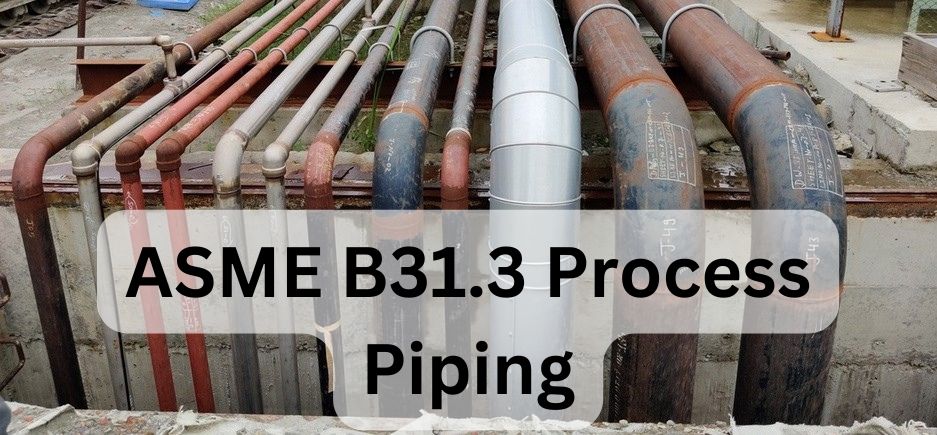
ASME B31.3, titled “Process Piping,” is a globally recognized standard for designing and inspecting piping systems in various industrial applications. These standards are established by the American Society of Mechanical Engineers (ASME) and address materials, welding, inspection, and testing requirements to ensure piping systems perform safely under specified conditions.
Why Weld Acceptance Criteria is Important in Process Piping?
The weld acceptance criteria in ASME B31.3 define the permissible level of imperfections in welds. Meeting these criteria is vital for the structural integrity and longevity of piping systems, as any flaws or defects can compromise safety, especially under high pressure, temperature, or corrosive conditions. This ensures the process piping can handle the stresses of industrial operations without failure.
Key Elements ASME B31.3
Weld Quality Standards and Inspection Levels
Weld acceptance criteria are based on quality standards established through thorough inspections. ASME B31.3 outlines different inspection levels based on the piping’s service category and the potential hazards involved. Each level demands specific quality and reliability standards to suit the application’s risk profile, ensuring safety and efficiency in every piping system.
Role of Table 341.3.2A in Weld Acceptance
Table 341.3.2A, titled “Acceptance Criteria for Welds,” is an essential reference in ASME B31.3. It provides specific criteria for evaluating welds, detailing acceptable types and extents of defects for various inspection methods, including visual and radiographic inspections. This table is indispensable for quality assurance professionals and inspectors, as it directly informs the inspection process.
Table 341.3.2A Overview
Explanation of Acceptance Standards for Visual and Radiographic Inspections
Table 341.3.2A categorizes acceptable weld imperfections and their permissible limits based on inspection methods like visual or radiographic inspection. For instance, visual inspection standards will set allowances for surface imperfections like undercuts or craters, while radiographic inspection focuses on internal flaws like porosity or slag inclusions.
Common Defects and Allowable Limits According to Table 341.3.2A
The table covers a range of defects, from surface irregularities to internal inclusions. For example:
- Porosity: Minor porosity is allowed within specific size and frequency limits.
- Undercuts: Allowed under certain depths, usually specified in millimeters.
- Incomplete Fusion: Not acceptable in most cases, as it weakens weld integrity. Understanding these specifics helps ensure that weld quality aligns with the necessary safety standards.
Types of Weld Defects and Acceptance Standards
Surface Defects
Surface defects are visible imperfections that can be identified during visual inspection. Table 341.3.2A specifies allowable limits for these, ensuring minor defects do not compromise weld integrity.
Cracks, Porosity, and Undercuts
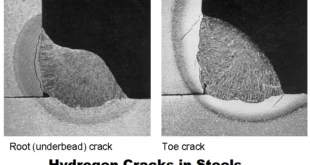
- Cracks are typically not acceptable in any location, as they are likely to propagate under stress.
- Porosity is generally permissible up to certain levels, provided it does not impact the weld’s structural integrity.
- Undercuts must be within allowable limits for depth and length, as excessive undercutting can lead to weak welds.
Subsurface Defects
Subsurface defects, found within the weld metal or heat-affected zone, are typically identified through radiographic or ultrasonic testing.
Slag Inclusions, Incomplete Fusion, and Overlap
- Slag Inclusions are allowed within specific size constraints and frequency. These are trapped particles that can compromise weld strength.
- Incomplete Fusion is unacceptable as it indicates that parts of the weld have not fully bonded.
- Overlap can be tolerated within limits, as it may not always impair weld strength, depending on the service category.
Inspection Methods for Welds in Process Piping
Visual Inspection
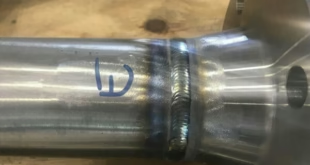
Visual inspection is the most basic form of weld evaluation. Inspectors assess surface quality, checking for visible defects like cracks or excessive spatter. Although simple, this method is crucial for identifying obvious issues before more complex testing.
Radiographic and Ultrasonic Testing
Radiographic and ultrasonic testing methods detect internal flaws that are invisible to the naked eye. Radiography uses X-rays to reveal internal irregularities, while ultrasonic testing uses sound waves to detect subsurface defects, offering a non-destructive way to inspect weld quality.
Magnetic Particle and Liquid Penetrant Testing
Magnetic particle testing is used to detect surface and near-surface discontinuities in ferromagnetic materials, while liquid penetrant testing is versatile and can be applied to non-ferromagnetic materials as well, helping inspectors identify cracks and porosity on the surface.
Acceptance Criteria for Different Service Categories
Normal Fluid Service
Normal Fluid Service piping usually has moderate requirements for weld acceptance. Minor imperfections, such as limited porosity or surface undercuts, may be allowed provided they don’t affect the piping’s overall reliability.
Category D, Category M, and High-Pressure Piping
- Category D requires moderate quality standards due to its use with non-hazardous fluids.
- Category M demands stringent inspection standards due to its service in toxic or hazardous applications.
- High-Pressure Piping follows the strictest criteria, where even minor defects can be critical. These pipes often undergo more rigorous testing, such as ultrasonic inspection.
Compliance and Quality Control in Process Piping
Ensuring Compliance with ASME B31.3 Standards
Compliance is achieved through regular inspections, adherence to Table 341.3.2A, and proper documentation. By implementing ASME B31.3 criteria, companies minimize risks and ensure safe piping installations.
Role of Quality Control Teams
Quality control teams are critical, overseeing inspections and maintaining compliance. They ensure that all welds meet ASME B31.3 standards, ultimately preventing issues that could lead to operational hazards.
FAQs
What is the primary focus of ASME B31.3?
The ASME B31.3 standard primarily focuses on the safety, design, materials, fabrication, and inspection requirements for process piping, ensuring reliable and secure industrial piping systems.
How does Table 341.3.2A impact weld quality?
Table 341.3.2A provides clear acceptance criteria for welds, defining allowable limits for various weld defects to ensure that they meet structural and safety standards.
What are some common inspection methods in weld acceptance?
Common inspection methods include visual inspection, radiographic testing, ultrasonic testing, magnetic particle testing, and liquid penetrant testing. Each technique is suited to identifying different types of weld defects.
Why is weld acceptance different for various service categories?
Service categories determine the level of risk involved in piping use. High-risk applications, such as toxic or high-pressure systems, require stricter weld acceptance criteria to ensure safety and reliability.
How can one ensure compliance with weld acceptance criteria?
Compliance can be ensured through regular inspections, following the criteria outlined in Table 341.3.2A, and conducting periodic audits. Proper documentation and quality control practices are also essential in maintaining ASME B31.3 standards.
Conclusion
In the high-stakes world of process piping, meeting ASME B31.3 weld acceptance criteria is essential for maintaining safe and reliable systems. By understanding the specific standards laid out in Table 341.3.2A and applying various inspection techniques, industries can ensure that their welds are up to code and capable of withstanding operational demands. Proper adherence to these standards reduces the risk of catastrophic failures, safeguards employees and the environment, and supports consistent operational efficiency. Weld inspection and acceptance criteria are not only about following rules but about upholding the integrity and longevity of crucial piping systems.
 Welding of Welders All about Welding and Welders
